Thursday, February 15, 2018

The DIY continues~by Beth

It has been so fun to actually be accomplishing some things around our house that make it look more organized, more functional, and better looking.  There are a few things that have been on the to-do list for so long that we are beginning to tackle.  The entry way had been needing to have the ceiling redone for years and we finally tackled that one.  It looks so nice.  While we were doing the ceiling, it only made sense that we also do the floor as well as the peeling front door.  We still have not freshened up the exterior side of the front door, but we did get the interior side sanded and painted (See my previous posts).  After taking the photo for the finished floor, I decided that my flower pot needed sprucing up.  When I bought it it was painted a lovely light purple.  Over time the paint flecked off.  So, I got a can of Krylon satin primer plus paint in periwinkle.  It sprayed on easily and seems to have covered well.  I love how it brought out the detail of the pot.  I also nabbed a plastic pot and dumped in our stones for our door stop when the weather permits us to open up the house.  The old metal one was getting rust on the floor.  I also replace the pot for the big aloe plant, which I got after the photo was taken.

While I had most of the gallon of floor and porch paint left (the color is dark gray) I decided to paint the lanai floor.  It had several stains and spots that I wanted to cover over, besides making it look more finished.  The difference is pretty stunning.  I love it.  I am toying with painting a chevron "rug" in the middle.  This was another one of those nagging projects that has finally made it to the "Done" category.  I painted that on Saturday and kept everyone from walking on it for 72 hours.  Before we moved the furniture and stuff back into the lanai, I began another project that has been bugging me for years.

All done


This desk area has been messy for years.  I would try to clean and organize it a number of times each year, but it never looked very nice.  Here it is in all its messy glory.


So, Tuesday I emptied, sanded, washed and spray painted the file cabinets.  I used Rustoleum 2X paint + primer glossy dark gray.  It took me about all day just to do all that.  I used plenty of painters tape to tape the chrome handles, lock buttons (we were able to take the handles off my file cabinet but not Jon's), and label holders.  We did a good job because there was no paint on them when we took all that tape off.  I love how shiny the gloss makes it look, and making them both gray makes it look a lot more unified.  While the paint dried, the kids helped me pull out the desk and we cleaned under and behind there.  Dust bunnies galore.  We also turned around the rug so the side with no wear on it is on the outside and the used section is near the wall and under the desk and file cabinets.  I put the desk in the middle and flanked it with the file cabinets.  I had a wide shelf (13 inches wide by 69 inches long) in the garage that I laid across the top of both file cabinets to make a shelf.  It is stained and has a nice finish.  It has helped make the whole office area look so much more organized.  I finally broke out my desk set that I won several years ago, but had no place to put it.  Jon had replaced the light a number of weeks ago so it is nice and bright to work at.  I have Jon going through his "piling system" so that this area does not get cluttered again.  His file drawers are the next thing to declutter.  Another project checked off.  I am loving it (though I am thinking about how to spruce up that desk with the peeling veneer).
Sanded and ready to paint

Had to sand the rust off 


Finished
Not sure if I have time to do any more projects till Summer.  Our sports and school schedule are full.  Johanna has at least one trip to Nicklaus Children's hospital for the end of this month and who knows how many more.  We have our state basketball tournament coming up in a few weeks, and the kids have several dental trips in the next 6 weeks.  Soccer begins today, and we also have a vacation planned this Spring.  I may not have any spare time to do anything till June.  But, I will be thinking about it.  I have a long list!

Saturday, February 3, 2018

How to make a fabric covered foam box~by Beth

If you notice in the picture of the remodeled bathroom there is a box on the lower shelf with gray and white striped fabric.


  I made this out of foam board and fabric.  Here's how:


I began with a large sheet of foam board.  I measured the width of the shelf where it would be placed, and added the height of the sides twice.  I did the same thing for the depth.


Using my utility knife and acrylic quilting straight edge I trimmed up my piece of foam.  Then I cut out the corner where the bottom and edge meet up.  I did this for all four corners.


To fold up the edges, make a cut along the edge where the bottom meets the edge, Only cutting through the bottom paper layer.  I used my acrylic ruler to keep the line straight.  Fold up along line. Tape the corners with clear packaging tape.
Fold up the corners and tape with clear package tape

Finished box


cutting the fabric


Protect the work area from over spray


Using spray adhesive spray the fabric and lay over box, working a section at a time.  Smooth out the fabric, matching up stripes.  I am still thinking about giving it handles, but in the meantime, look how much I can store in it.


Crafts around the Blikstad Casa~by Beth

I saw a project that I really liked on Pinterest.  Charity collected the leaves in Ohio when she was there taking care of her grandpa while my mom went on a trip to Israel.  Hannah make the picture for me.  I love it.


The girls and I also made some ornaments to give to neighbors, and place setting name cards with candy canes.  That was a lot of fun to do.
Add caption


Here is Audrey putting the angel on the tree before they left for home after Thanksgiving.  What a cutie.

We were also able to take a family photo with all 20 of us here.  What a blessing.
The next post will show how I made a storage box out of foam board and fabric for the remodeled bathroom.  It was very satisfying to make and I was able to custom size it for the space I had.

Projects on the Blikstad Casa in 2017 into the New Year~by Beth

One Sunday morning while we were still asleep our wire closet shelf and rod decided to fall.  Abigail and I had previously taken it out and cleaned it, but that loosened it and it ripped out of the wall.  Since it was not very useful anyway, we decided to just make a shelf from wood and hang a regular rod, plus added a couple of low shelves.  Our closet is much more organized.  We used a $2 gallon of mistint paint from Sherwin Williams, which just happened to match our quilt.  Here it is almost finished before installing the shelves which are on the left side.

 So, this is embarrassing.  Our garage gets so messy.  We had to come up with a better system to store our stuff.
 The shelves on the left were not practical and not well made.  So mister carpenter and kiddos designed and built the new wood shelving unit. So much more orderly.  Seven months later it is still, fairly well, organized.


Reorganized with new IKEA dishes


With outside organizing going on, I also tackled some indoor reorganizing, beginning with changing out the table in my kitchen to a higher, and better fitting square one.  Love it!  Late in the year we also added a cupboard of drawers over by the wall on the left for kitchen linens and small appliances.  I put my coffee maker on top and opened up space on another counter.

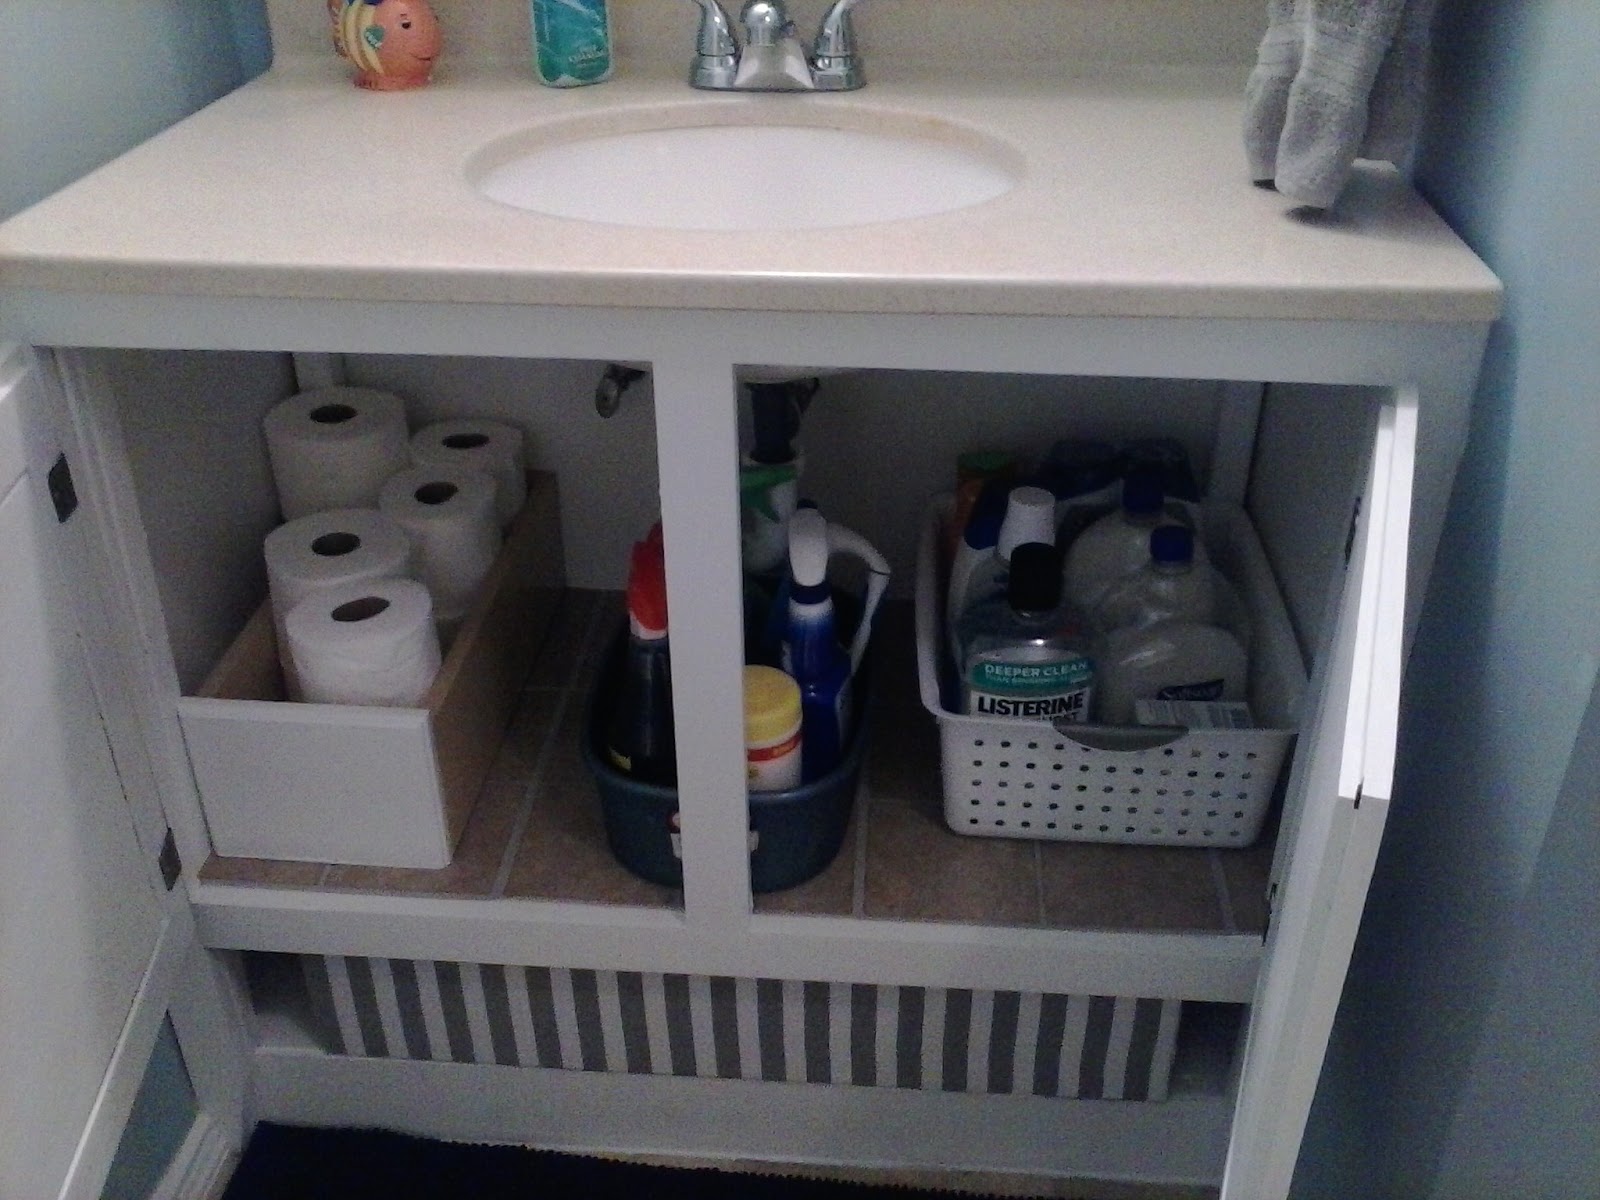
Our next bigger project was remodeling our boys/guest bathroom when Nathan, Hannah and their children, Katie, Zach, and Caleb came for Thanksgiving.  We rebuilt the vanity with oak from the Habitat for Humanity Restore, but we reused the doors from the previous vanity as they were oak as well.  We also reused the sink and counter, and the existing tall cupboard in there, but glued on it a veneer and painted it white, along with the vanity.  I purchased a new shower curtain and rugs.  We still need to retile the shower floor, step, and some of the lower rows.  But we hope to do it soon.

I reused a drawer, painted the front, and installed vinyl tiles inside

cupboard before installing doors.


I also made a box from foam and covered it with fabric.  I will include the step by step directions in a post of craft projects later.

Our next big project did not include building but a reorganization of 4 rooms in the house and a big closet during Christmas break.  We took the 2 boys out of the big room and put the 5 girls and their stuff in the big bedroom.  After taking a car load of stuff to thrift stores, we are a bit lighter here.  It took 4 days of moving to get everyone in their new places, and another 4 to hang pictures and shelves, and find places for a small amount of keepsakes.  Here are the finished photos.


David's little room


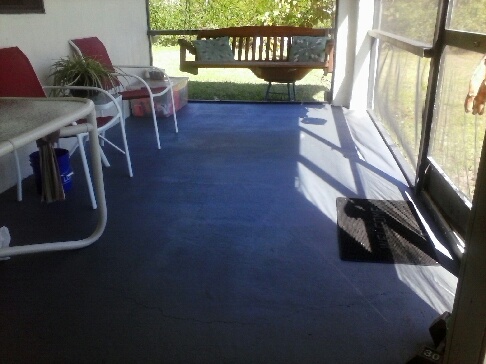
While Jon had some time off from work in January we fixed up the entry way outside the front door.  The ceiling had drywall that, after years of heat and humidity in the semi-tropics here, was sagging and needed to be replaced.  We demoed the drywall and replaced it with tongue-in-groove pine boards.  We added quarter round on the edges and painted 3 coats of our exterior paint, 2 coats before installing.  While Jon installed that, I sanded the peeling paint on the interior side of the front door and jamb, and primed it.  Two coats of paint later, and it looks so much better.  A week later I repainted the entry floor.  We only need to repaint the exterior of the door and replace the screen and the entry will be finished.


Stephen is a good helper.


I need a manicure